Getting Started
Follow the procedure below to create an RC+ Extensions project.
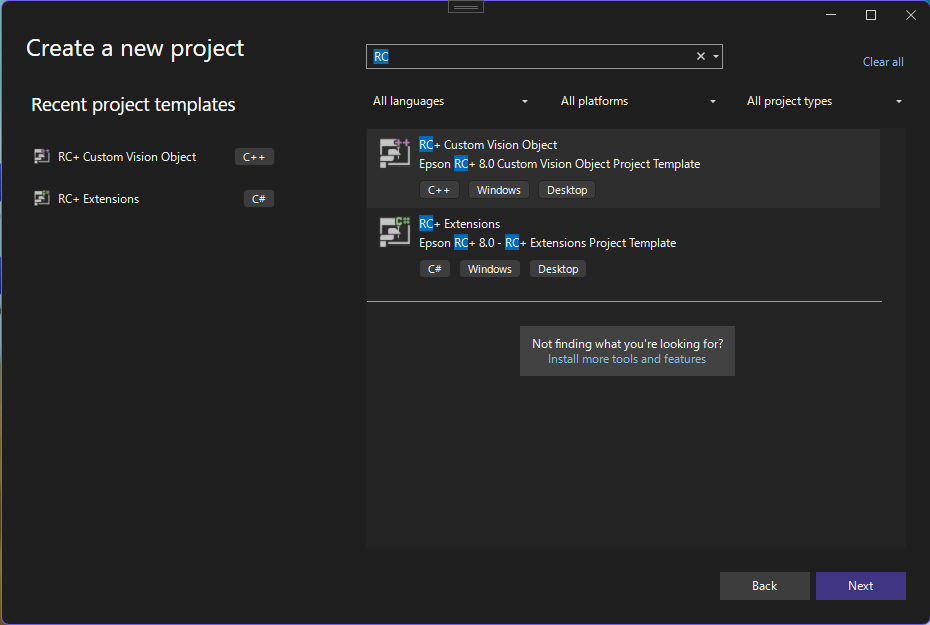
- In Visual Studio, select [Create a new project].
- Select the [RC+ Extensions] project template.
- Select the features you want to use in the [Initial Feature] window.
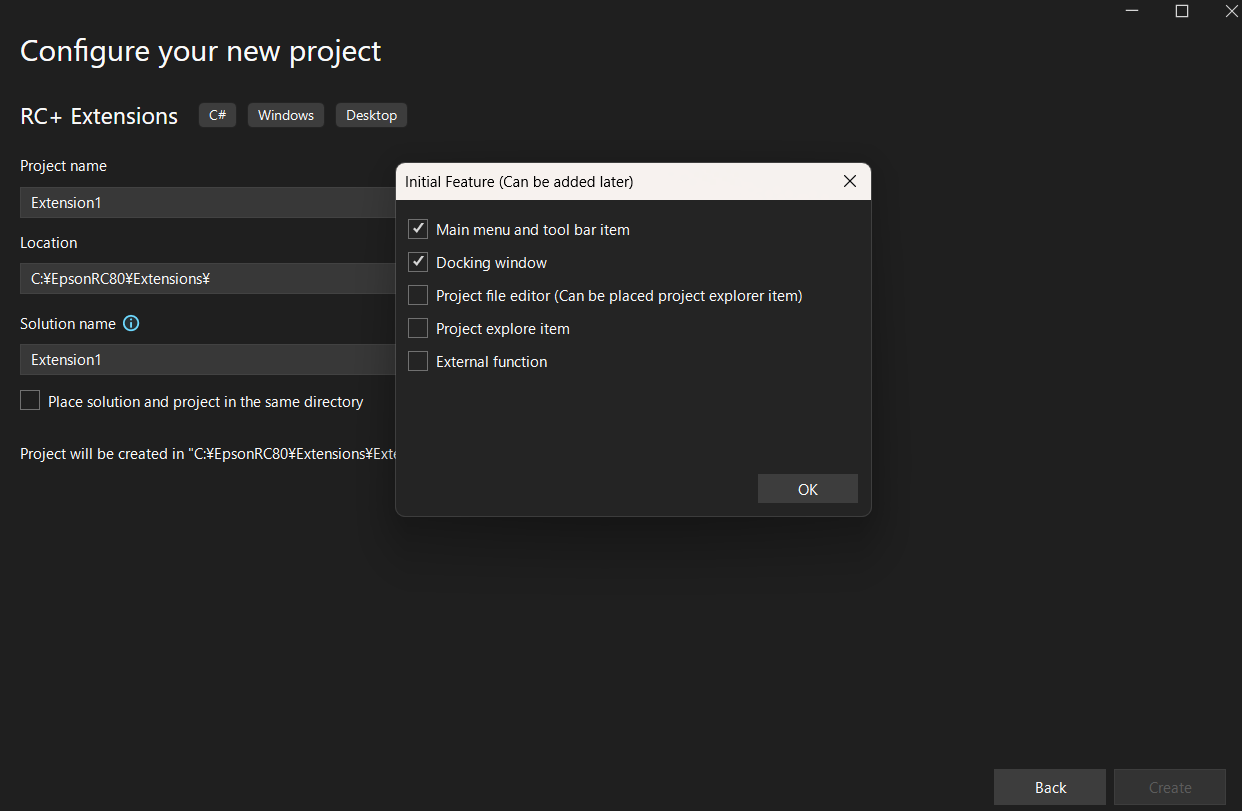
- Main menu and tool bar item: Add the dedicated Extension menu to the Epson RC+ main window menu and toolbar.
- Docking window: Add the dedicated Extension docking window to the Epson RC+ main window.
- Project file editor: Add your own extension-specific files under project management.
- Project explore item: Add your own extension-specific items to the Project Explorer
- External function: You can call an extension-specific process from SPEL+ using the Declare statement.
KEY POINTS
File templates for required functions can be added later. Right-click Solution Explorer and select [Add] - [New item]. Search for [RC+] and add it.
The created project can be built as is and debugged while installed in RC+.
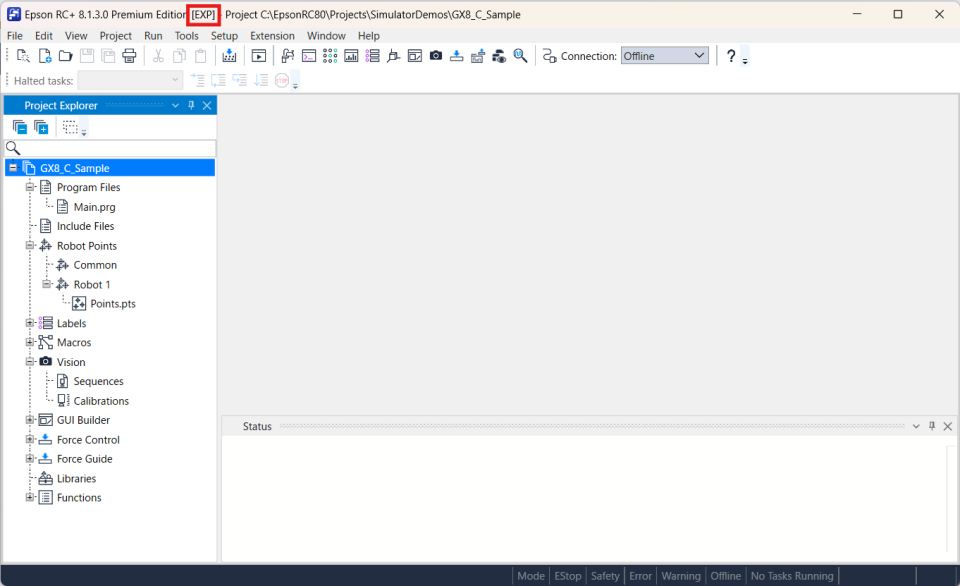
By selecting [Debug]-[Start Debugging] from the menu, the extension is built, and Epson RC+ starts after the build is completed. After Epson RC+ starts, make sure that the selected function (window or menu) is displayed. [EXP] is displayed in the title of the main window to indicate the debug status of the extension.
If an RC+ instance already exists when RC+ starts, close it.
API references and sample programs are available on GitHub. Refer to this for details on how to implement the program. Use the following URL.
https://github.com/Epson-Robots/rcplus-extensions (opens new window)