Advanced Tasks
Let's do the following advanced tasks.
It takes a long time to perform jog motion for a distance of tens of millimeters, as in "Software Return to the Non-Contact State ."
Let's try a method to pull the stick out using the force control function right after the Peg In Hole task.
At this time, make sure not to reset the Force Sensor by clicking [Sequences]-[Property].CAUTION
When about five minutes have passed after Peg In Hole task, the robot cannot detect a proper value and fails to pull the stick out due to the drift characteristics of Force Sensor. At this time, a large force will be applied to the workpiece and it may result in damage to workpiece. Be sure to pull the stick out right after the force guide sequence is executed.
If you reset the Force Sensor in the contact state, the force and value at that time will be "0". In this state, the force control function cannot be performed properly and the robot may fail to pull the stick out or the workpiece may get damage. Be sure to set the [ResetSensor] property to "False". Also, when you want to reset the Force Sensor (e.g. click the [Reset Sensor] button or reboot the Controller), move the robot by using the jog motion without performing the force control function and set to the non-insertion state / the non-grasped state.
- Create another empty force guide sequence which is different from [InsertSeq].
Example: PullFromHole - Add a Press object only and set the properties.
For 6-axis robot, refer to the following settings and adjust the properties such as [Firmness].- Set the "Press- " direction in [Fz_ControlMode]
- Set "Follow" in [Fx_ControlMode], [Fy_ControlMode]
- Set a force of less than 10 N in [Fz_ControlMode]
If the force is too great, the robot may get caught in the hole.) - Set a large value in [Timeout] such as 60 sec.
(Robot keeps moving even when the "pulling" task is performed. Click the [Abort] button to stop the robot.) - Set [FZ_Firmness] to the same value as InsertFirmnessF in [InsertSeq]-[Insert01].
- Set [Fx_Firmness] and [Fy_Firmness] to the same value as FollowFirmnessF in [InsertSeq]-[Insert01].
- Click the sequence flow in the flowchart.
- Set the [ResetSensor] property to "False".
- Refer to the following and execute the force control function.
Motion by Force Guidance Function
- Create another empty force guide sequence which is different from [InsertSeq].
While this tutorial describes a peg in hole procedure, there is a way to check that a workpiece does not come out when pulled in the opposite direction to the direction of insertion when using a workpiece designed to prevent removal when pulled after insertion, such as a connector.
Try this yourself by following the procedure below.- Open the [Force Guide] window.
- Right click the [InsertSeq] sequence flow, and then click [Sequence Wizard].
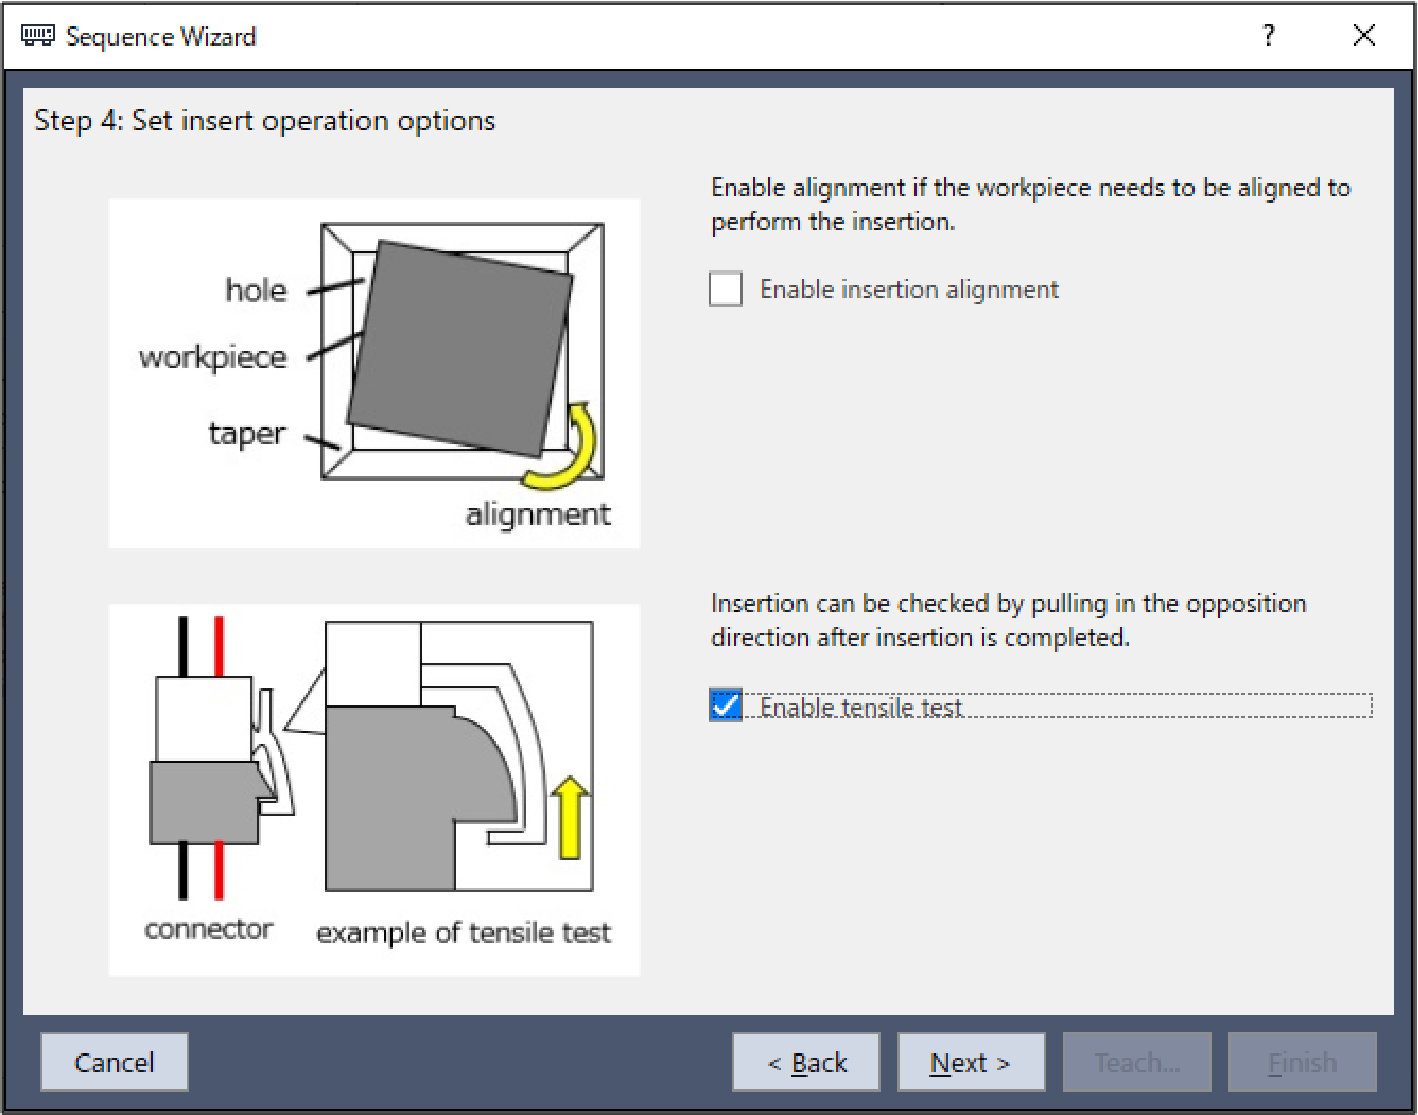
The sequence wizard will be displayed. - Click the [Next] button three times to display the [Step 4: Set insert operation options] dialog box.
Change the properties according to the table below. Click the [Next] button six times.
 ItemValueDescription
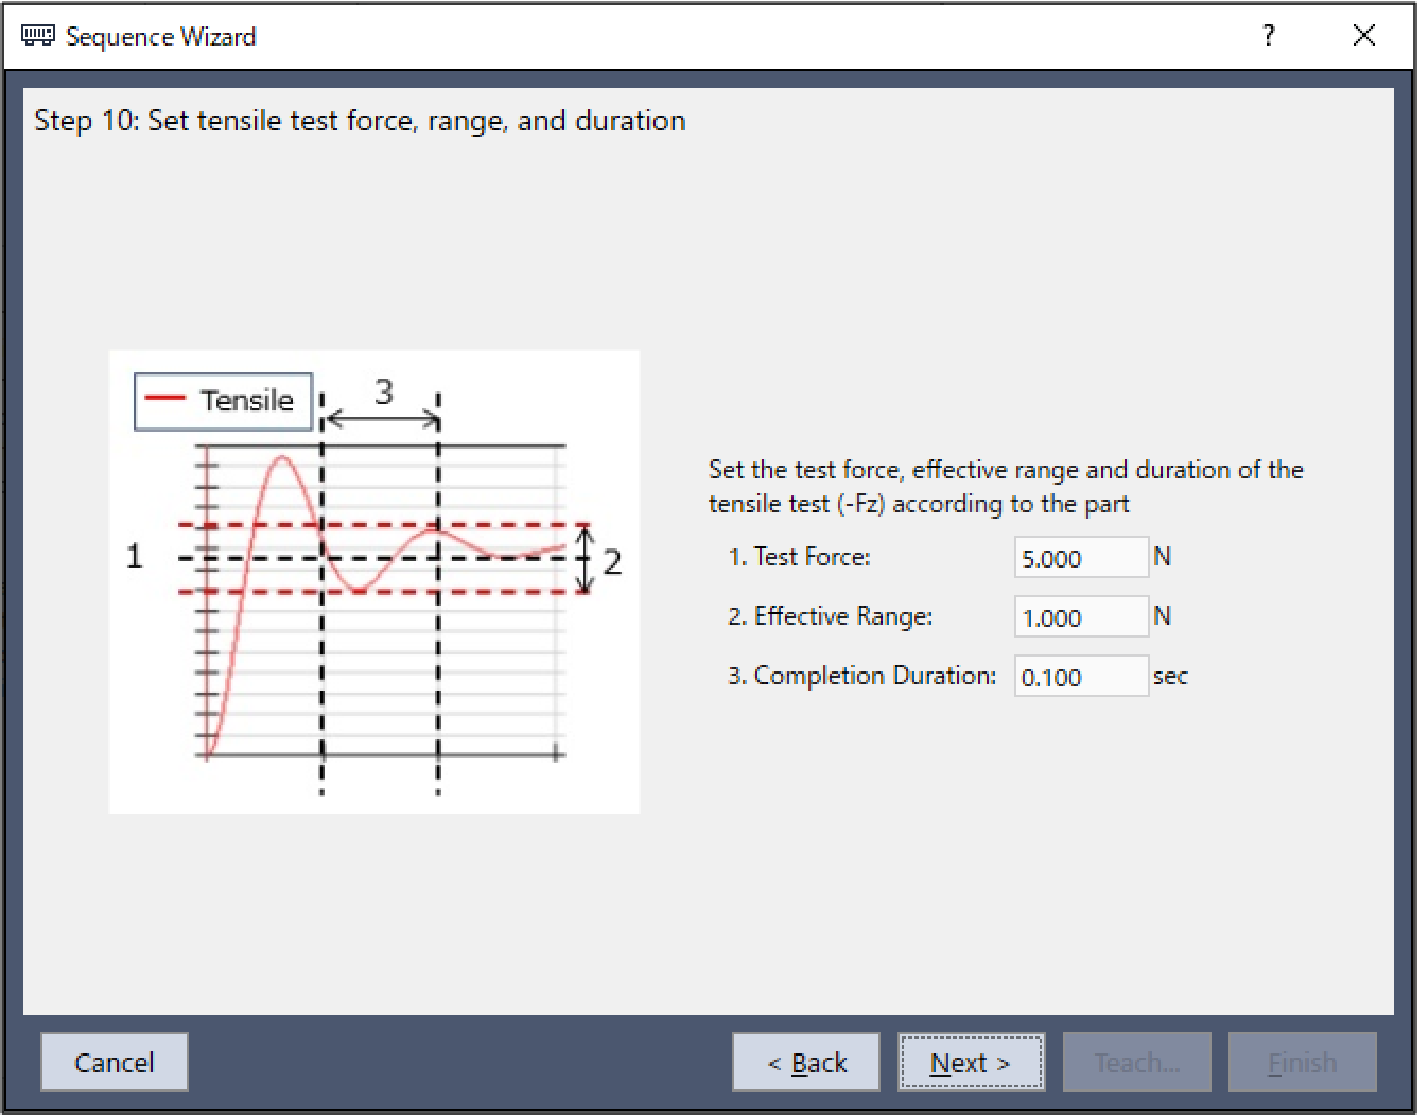
Enable tensile test Enable Check insertion by pulling in the opposite direction once insertion is completed. - The [Step 10: Set tensile test force, range, and duration] dialog box is displayed.
Change the following property according to the workpiece in use.
This setting does not need to be changed if it can be left at the default value.
Click the [Next] button.
 ItemValueDescription
Test Force 5 Set the test pulling force to apply during the tensile test.
Set this according to the workpiece in use.
This is set to 5 N in this example.
Effective Range 1 This is the effective range for the completion condition to apply regarding the test force.
Set the effective range to use for the completion condition for the tensile test.
Z axis: Continuous force of 5±1 N applied
Completion Duration 0.1 Set the duration at which completion conditions are deemed to have been met.
This is set to 0.1 seconds in this example.
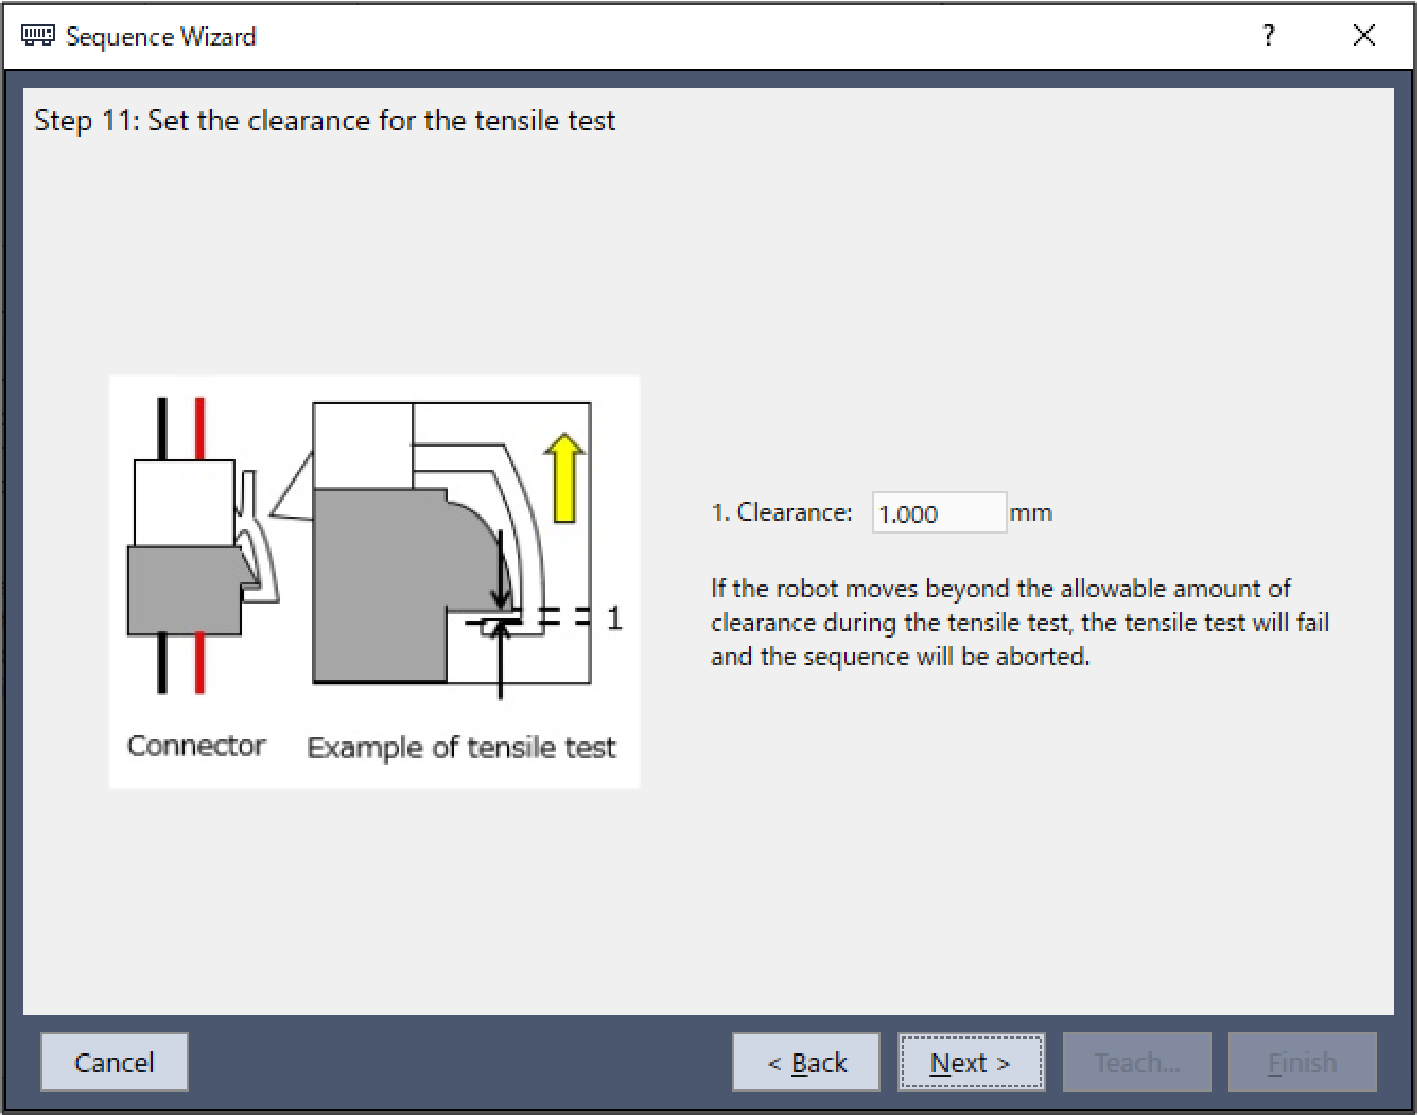
- The [Step 11: Set the clearance for the tensile test] dialog box is displayed.
Change the following property according to the workpiece in use.
This setting does not need to be changed if it can be left at the default value.
Click the [Next] button.
 ItemValueDescription
Clearance 1 The clearance range for determining failure when performing a tensile test.
Set this according to the workpiece in use.
This is set to 1 mm in this example.
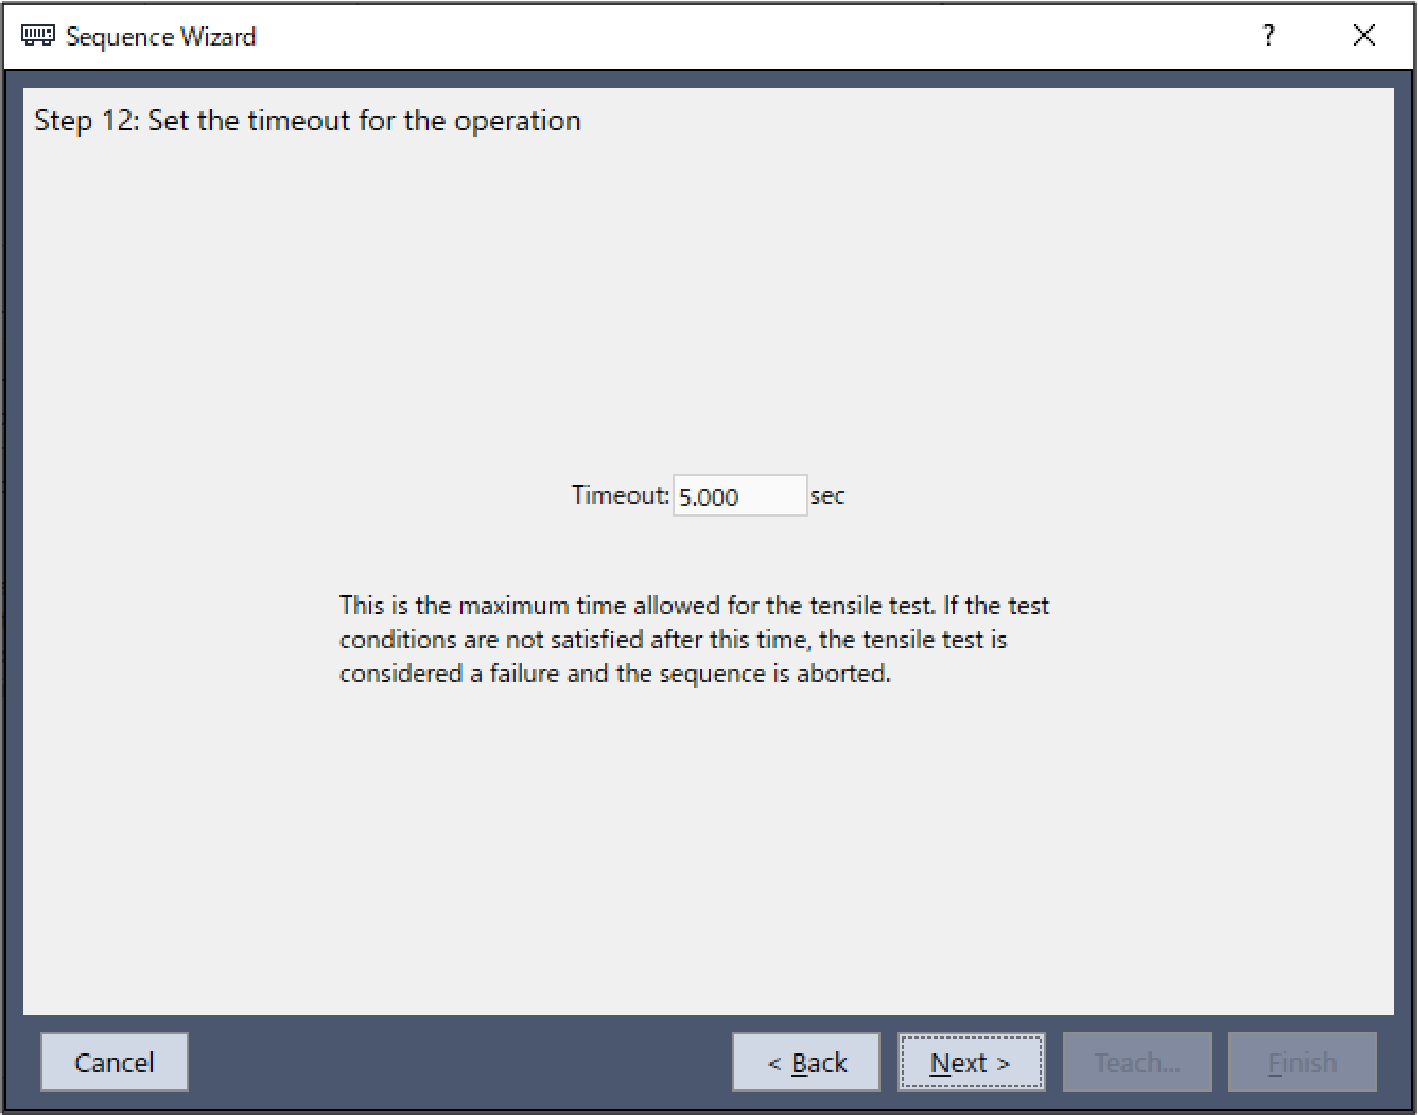
- The [Step 12: Set the timeout for the operation] dialog box is displayed.
This setting does not need to be changed from its default value.
Click the [Next] button.
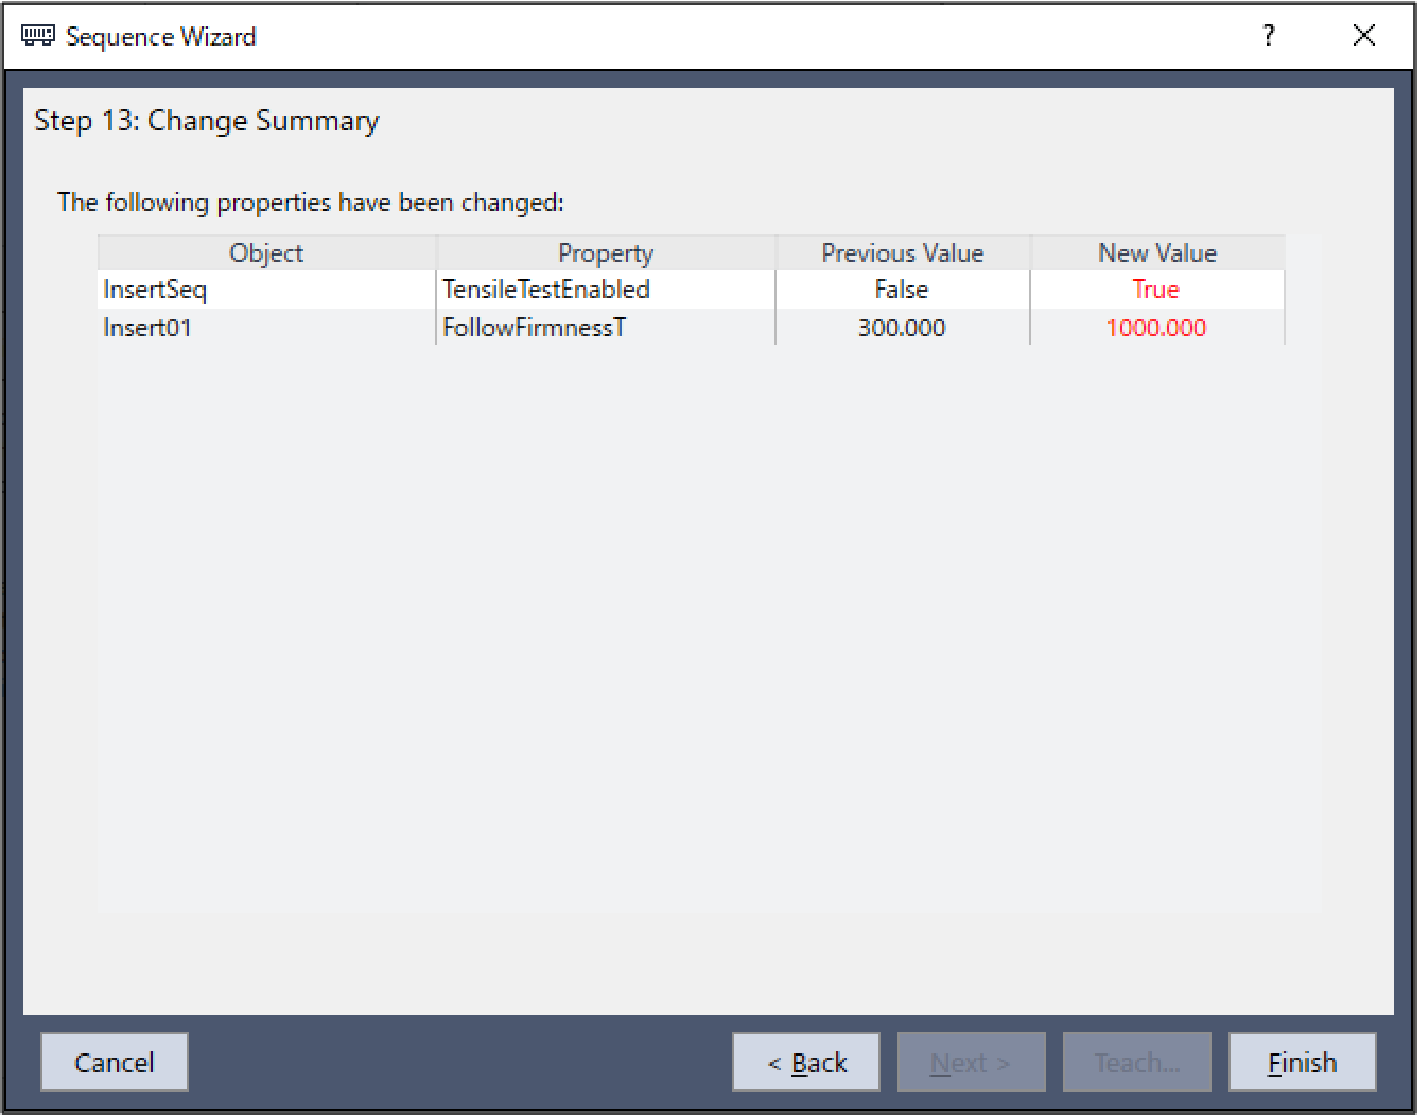
- The [Step 13: Change Summary] dialog box is displayed.
Objects with modified properties, the name of the property, and value changes will appear here.
The following screenshot shows the dialog box that appears when the tensile test is enabled.
If you have changed property values in Steps 10 and 11, those properties will also appear here.
Click the [Finish] button.
- Check that the [TensileTest01] object appears in the [InsertSeq] sequence.
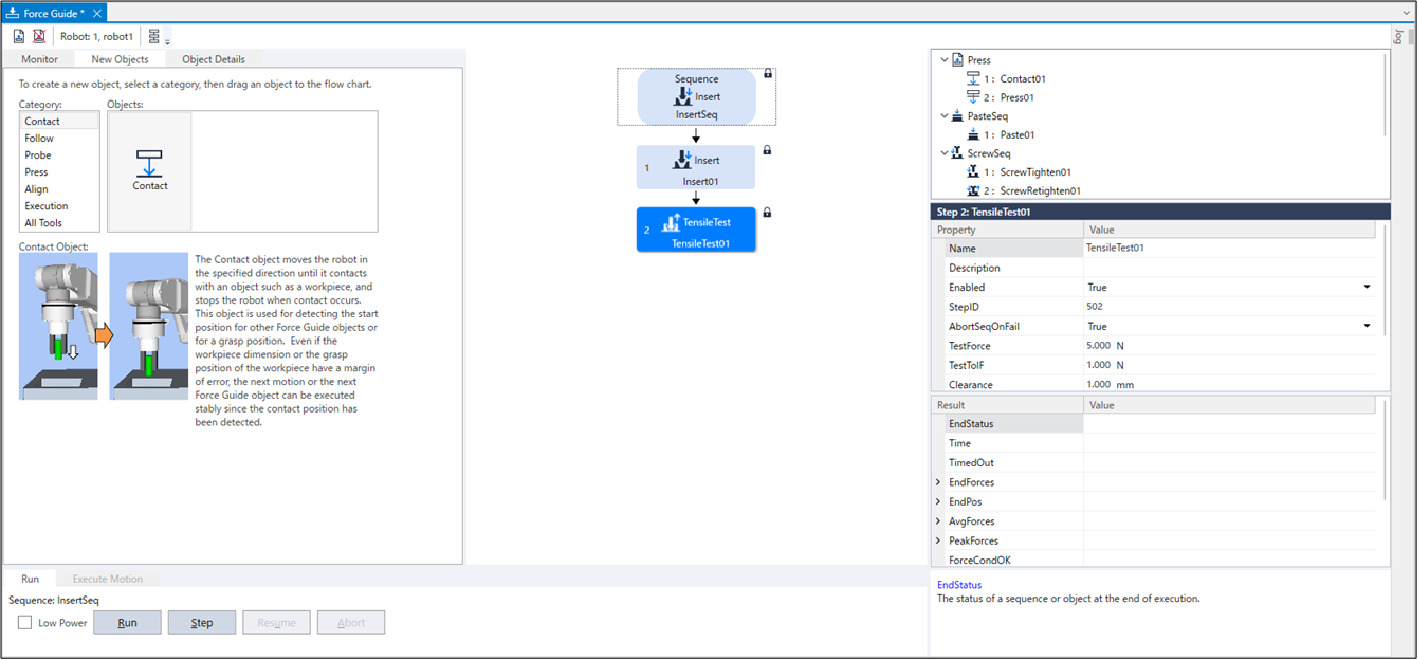
- Refer to the following and execute the force control function.
Motion by Force Guidance Function
This ends Insert sequence procedure tutorial.